
Picture yourself searching through house listings and browsing a photo gallery. What draws your attention? The big painting in the hallway or the double stairway leading to the second floor? Do you see the freshly painted walls or you just want to tuck your toes into the fluffy carpet? Perhaps your eyes drift along the curtains and focus somewhere in the garden, through a French door, or the fireplace makes you dream of cold, winter nights. Light is cascading into the living room and somewhere, in the background, the table is set for dinner. Could this be your dream home? If so, the photographer has done his job well! These are the feelings that professional pictures should convey about a house and we’ll show you exactly how it’s done.
Guidelines for interior photography
Before getting into all the technical stuff, you should know that there are no unbreakable rules in photography, just different opinions. No matter how hard you’ll try to obey the manuals, there will always be somebody who has something to say about your work and critique it in every possible way. Real estate photography and shooting professional pictures is about evolution, continuous learning and establishing your own style. Nevertheless, there are some general tips&tricks that will help you navigate to safety regardless of your photography level.
Housekeeping details
You are in the real estate photography business, not housecleaning, so it’s best to send your client a list of ideas about how to prepare the house prior to the actual photo session. Before you start, take the time to create space for your composition. If something is in your way, don’t be afraid to move it and that includes cords, objects, plants or pieces of furniture.
Let there be light!
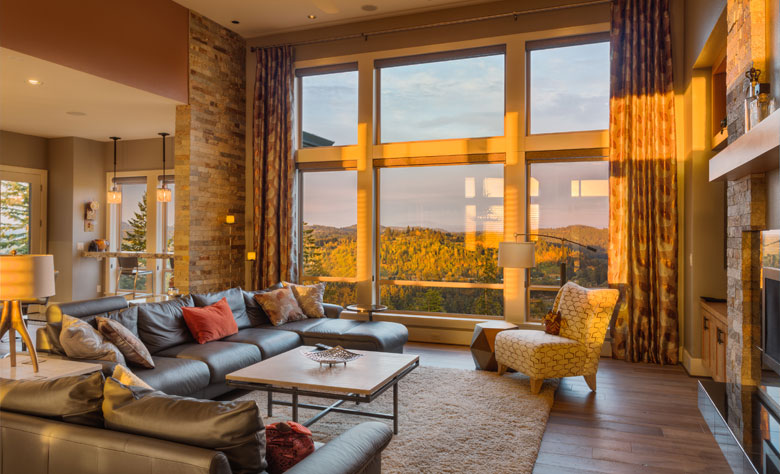 And, by all means, a natural one. The trouble with artificial light is that cameras have a tendency to interpret it the wrong way and create messy end results. After all, we’re talking about camera lenses, not human eyes! Most real estate photographers have limited time and use strobes, flashes and multi-flash wireless set-ups in certain situations. There’ll be no problem if you make use of them, too, or increase the overall luminosity of the room with the help of accent and constant lights, but nothing beats the Almighty Sun. Ideally, you should photograph on a cloudy day since clouds diffuse light and create soft shadows.
Equip yourself
Photographing a house isn’t such a difficult task if you don’t need professional pictures – simply focus on your subject and click the shutter button. But if you want to get ahead of your competition, you should invest in some good equipment. Start with a camera that will allow you to add a flash, wireless triggers and different lenses and buy yourself a sturdy tripod. Wide lenses are a must: 12-24mm for crop sensor and 16-35mm for full frame. You should always take along a standard lens, a macro one (for all that fine details!) and a tilt-shift lens that will help you avoid converging vertical lines.
Straight lines all around
 Landscape and exterior photography benefit greatly from a more relaxed approach, but when it comes to photographing interiors all your verticals must be aligned. We’re talking about corners and edges, door frames and windows that have vertical sides and must be in linear harmony with the horizontal and vertical items along the walls. Start by using the grids in your camera viewfinder and make sure all lines are aligned within your device. Another way is to level the camera by using a hot shoe bubble and shoot from chest height or even lower than that.
Aperture
This tool controls the amount of light which travels into the camera body and the camera’s depth of field. Aperture is expressed in f-numbers known as “f-stops” which describe how open or closed the diaphragm is. To understand it better, you can compare the aperture with the iris of your eye: small pupil equals small aperture while large pupil equals large aperture. If you want to focus on a smaller object, for example, and get a blurred background, you will shoot with the smallest f-stop your camera allows (wider aperture). Instead, if your focus is the entire space and you want everything to be sharp as a knife, get going with the highest f-stop out there (smaller aperture).
Photo format
The best way to have full control over your final professional pictures is to shoot in RAW format and edit them in Photoshop or Lightroom at a later time. What’s interesting about this format is that it will record all data coming from your camera sensor and give you the opportunity to adjust flaws like white balance, exposure, contrast, saturation or color aberrations on a computer.
Interior photography plays a big part in marketing real estate listings – you might even say that it makes or breaks the deal. No matter how big or small the house is or in what condition, a good photographer will always be able to create a visual story that sells. Try to learn everything about the creative and technical sides of photography and integrate them in your daily work, carefully choose you gear and shoot for the stars!
[…] a business in real estate photography means years and years of practice and a profound understanding of the industry and its tools. […]
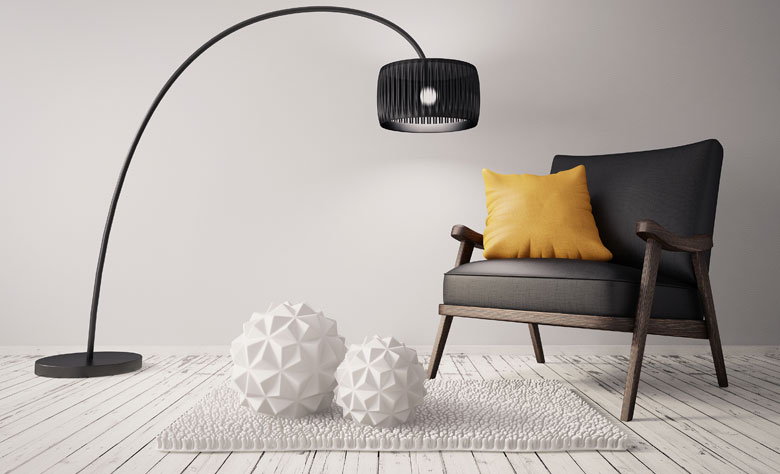
[…] estate photographer, you are also responsible for the composition of the space and will need some minimal interior design skills. Don’t be afraid to move things around, puff pillows, rearrange books and house plants, and make […]